The Post and Photos within may contain Amazon or other affiliate links. If you purchase using links in this post I do earn a small commission but without additional charge to you. Thank you for your support!
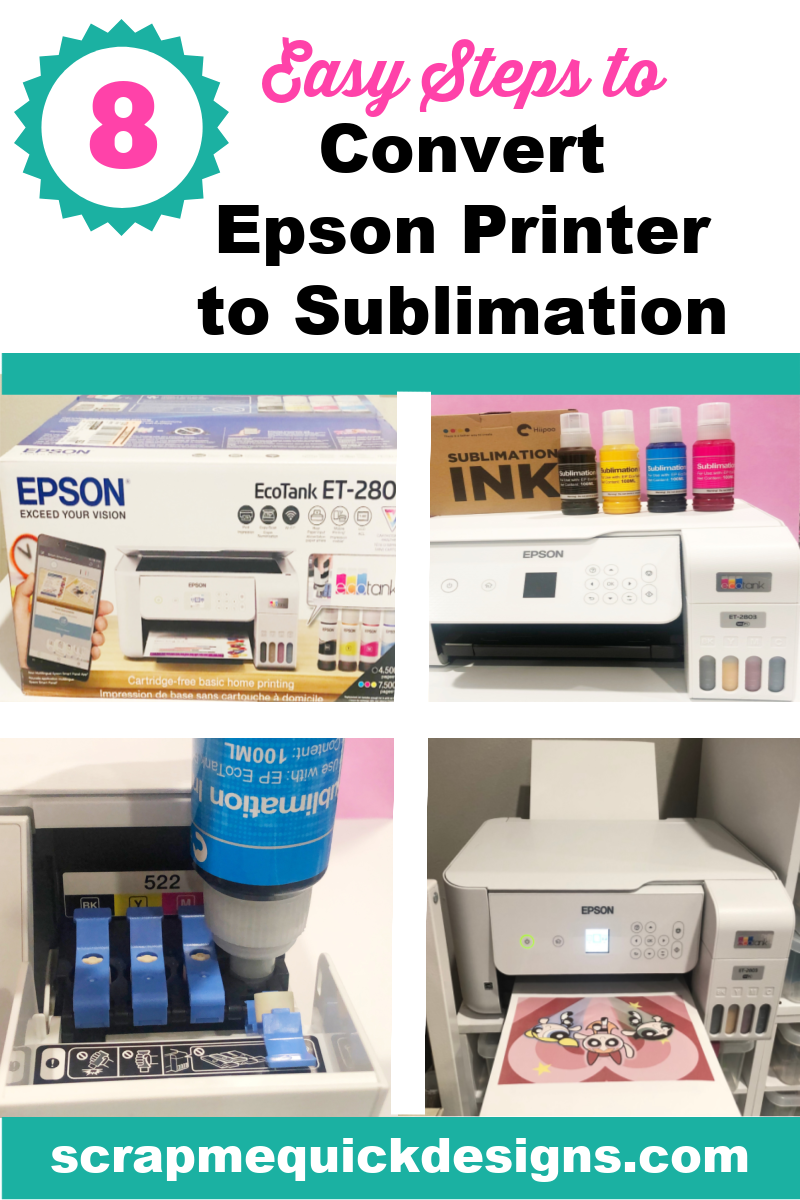
Have you been wondering if there is a more affordable way to try sublimation printing ? In today’s post I am going to show you how to easily convert an Epson Eco-tank Printer to a sublimation printer step-by-step. And explain what you need to do get best results.
NEED TO KNOW MORE ABOUT SUBLIMATION BASICS ?
If you are curious about sublimation printing and still trying to figure out if it is something you might want to try, I suggest you check out my Sublimation Basics For Beginners post. In that post I provide a detailed overview of what is sublimation printing, various types of sublimation printers to consider, what to look for in sublimation inks and which sublimation papers are recommended. I always want to make sure you know what you getting in to if you are going to invest your precious crafting budget.
HOW TO CONVERT EPSON PRINTER
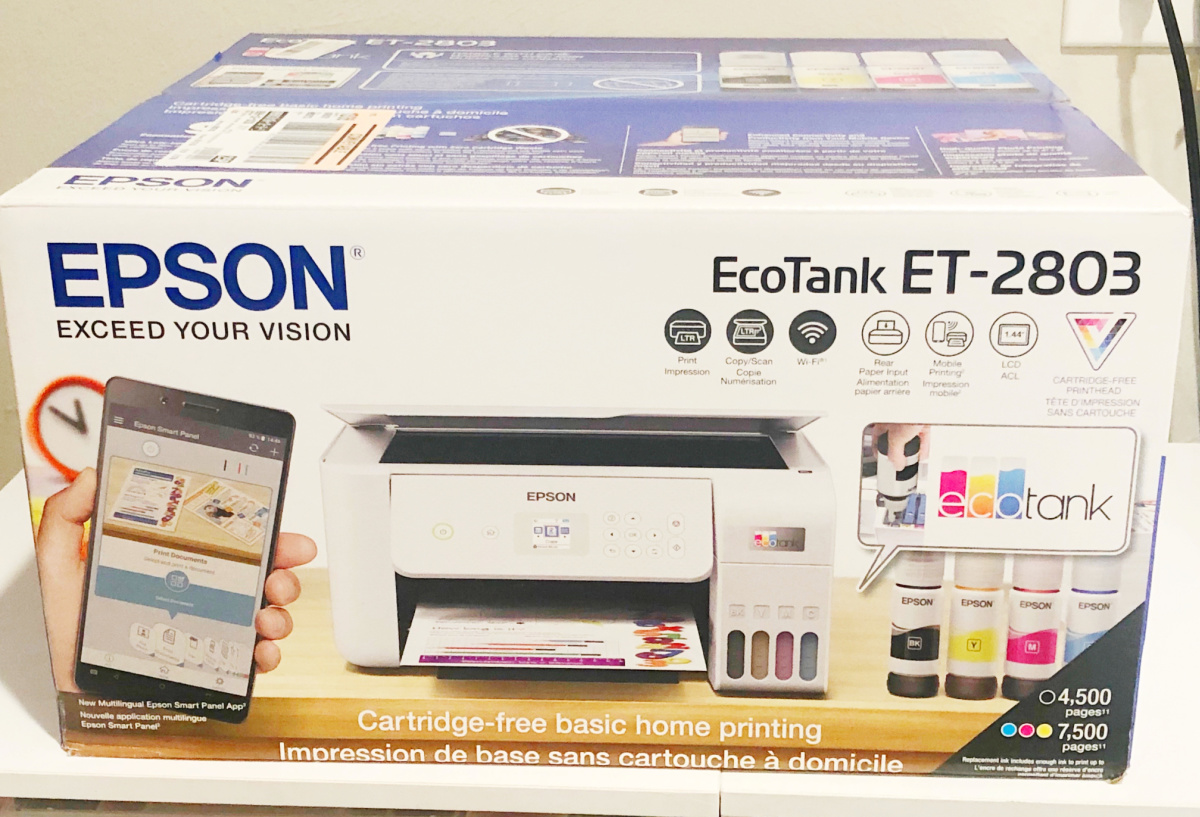
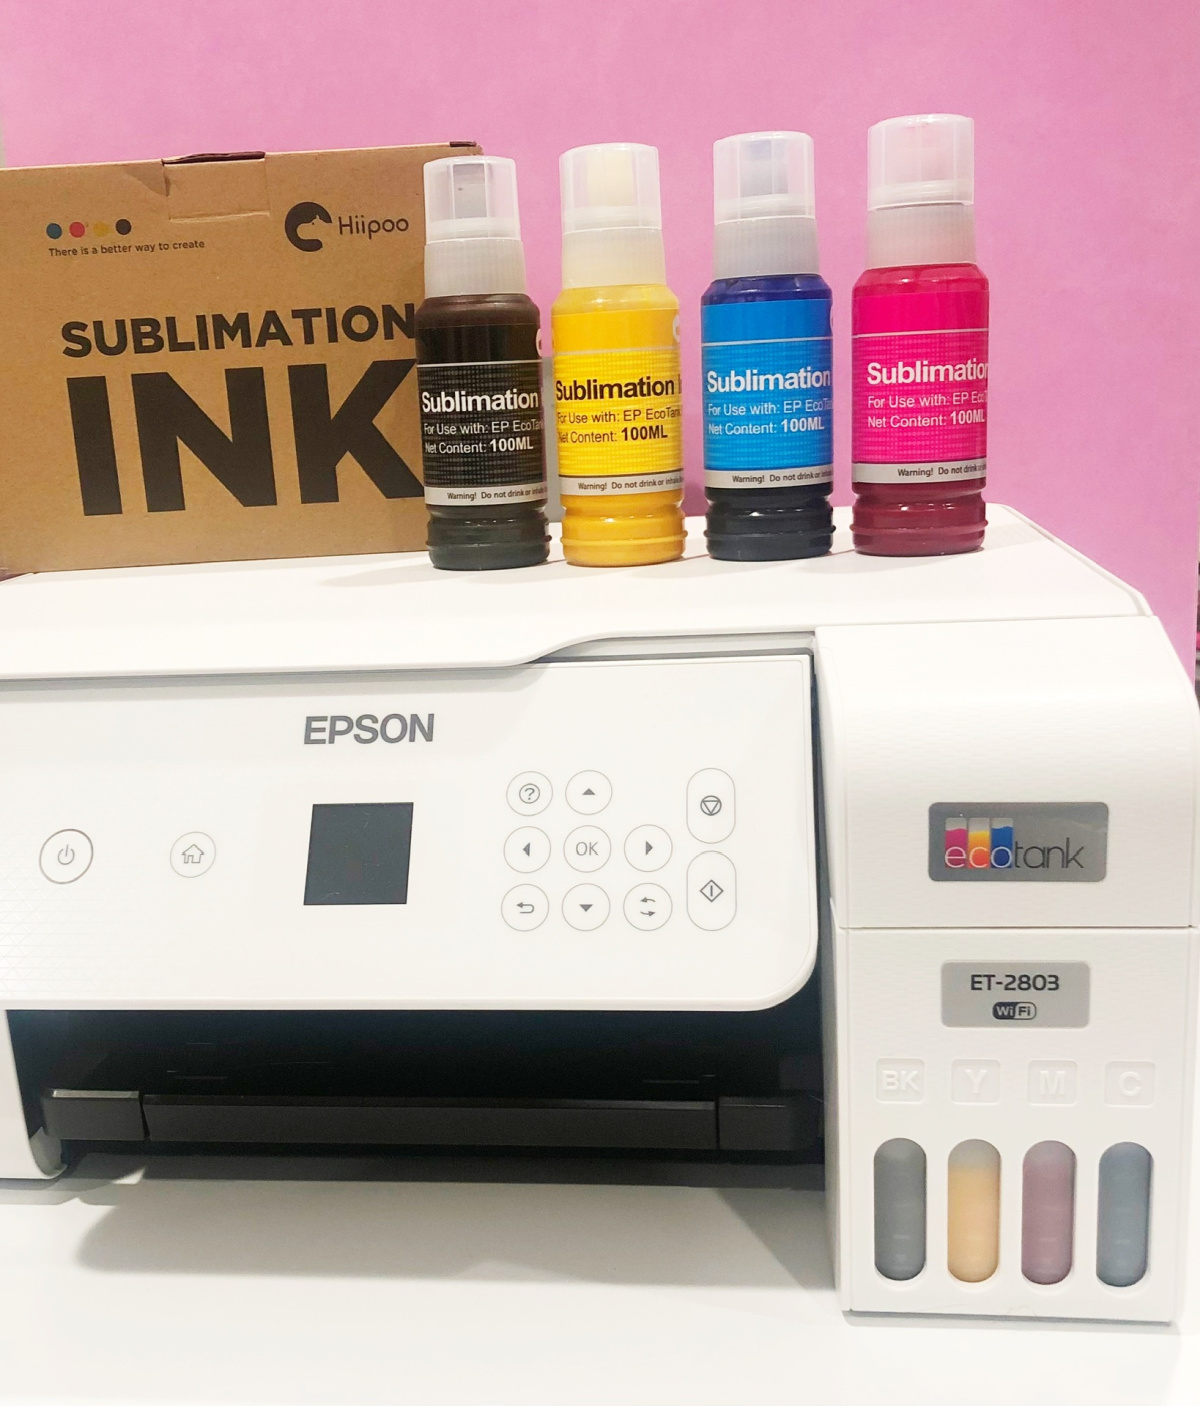
Today I will be converting an Epson Eco Tank 2803 Printer using Hiipoo Sublimation Ink with the Prefect Bottle Tip. However, these steps will work for any of the recommended Epson Eco Tank printers. You can read about those HERE.
The only thing you will need to change from these instructions would be the ICC color profiles to give you the best color possible for the type of sublimation ink and sublimation papers you choose to use.
And yes, of course, I will show you where to look for the profiles.
SUPPLIES YOU WILL NEED ON HAND TO CONVERT EPSON PRINTER
- Epson EcoTank Printer
- Sublimation Ink – Hiipoo Sublimation Prefect Bottles
- Paper Towel/Wet Wipe to clean up any accidental spills
- Printer Copy Paper for print testing only
STEPS TO CONVERT EPSON PRINTER TO SET UP FOR SUBLIMATION
STEP 1: Unbox the printer. Remove any packaging materials and tape. Set aside the Epson Ink away from the area since you won’t be using it.
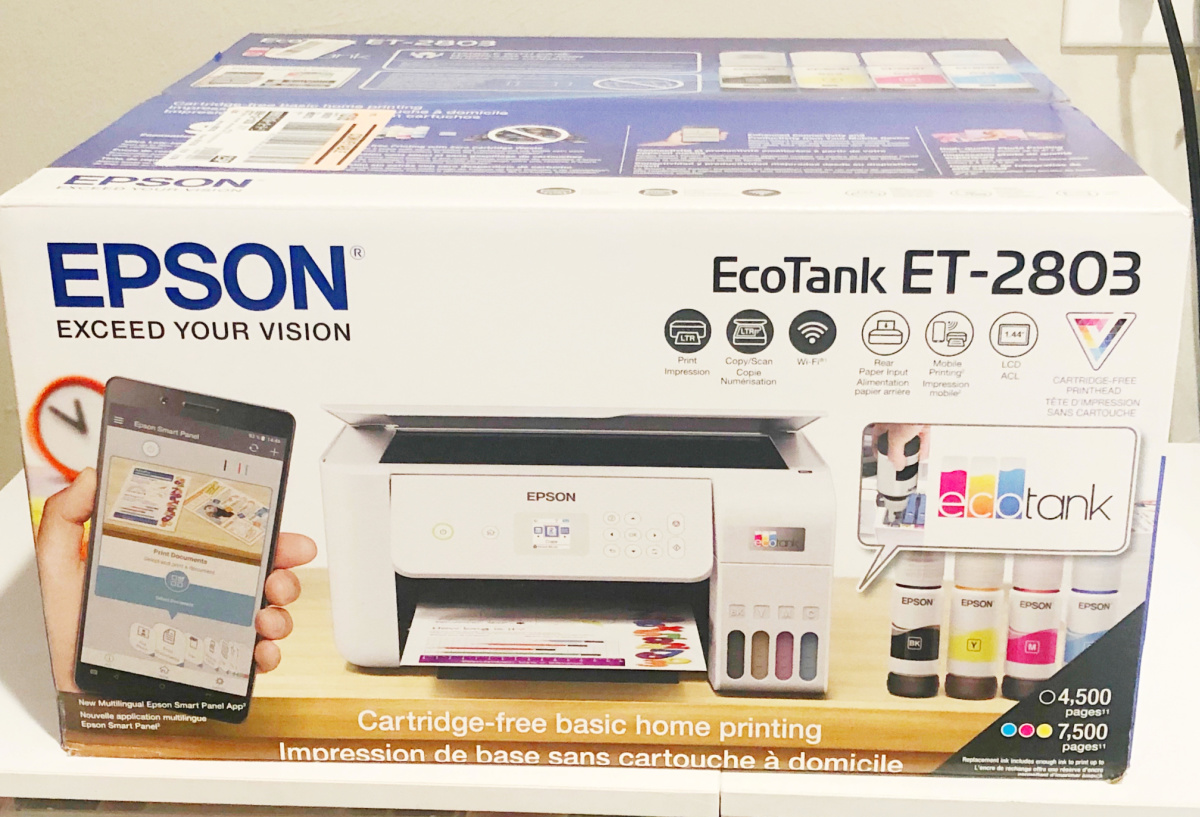
STEP 2: Set up the Printer using the included directions. Turn the power on and setup with your computer or device. Pause at the step where it tells you to fill the ink tanks with the Epson Ink. Replace it with the Sublimation Ink instead.
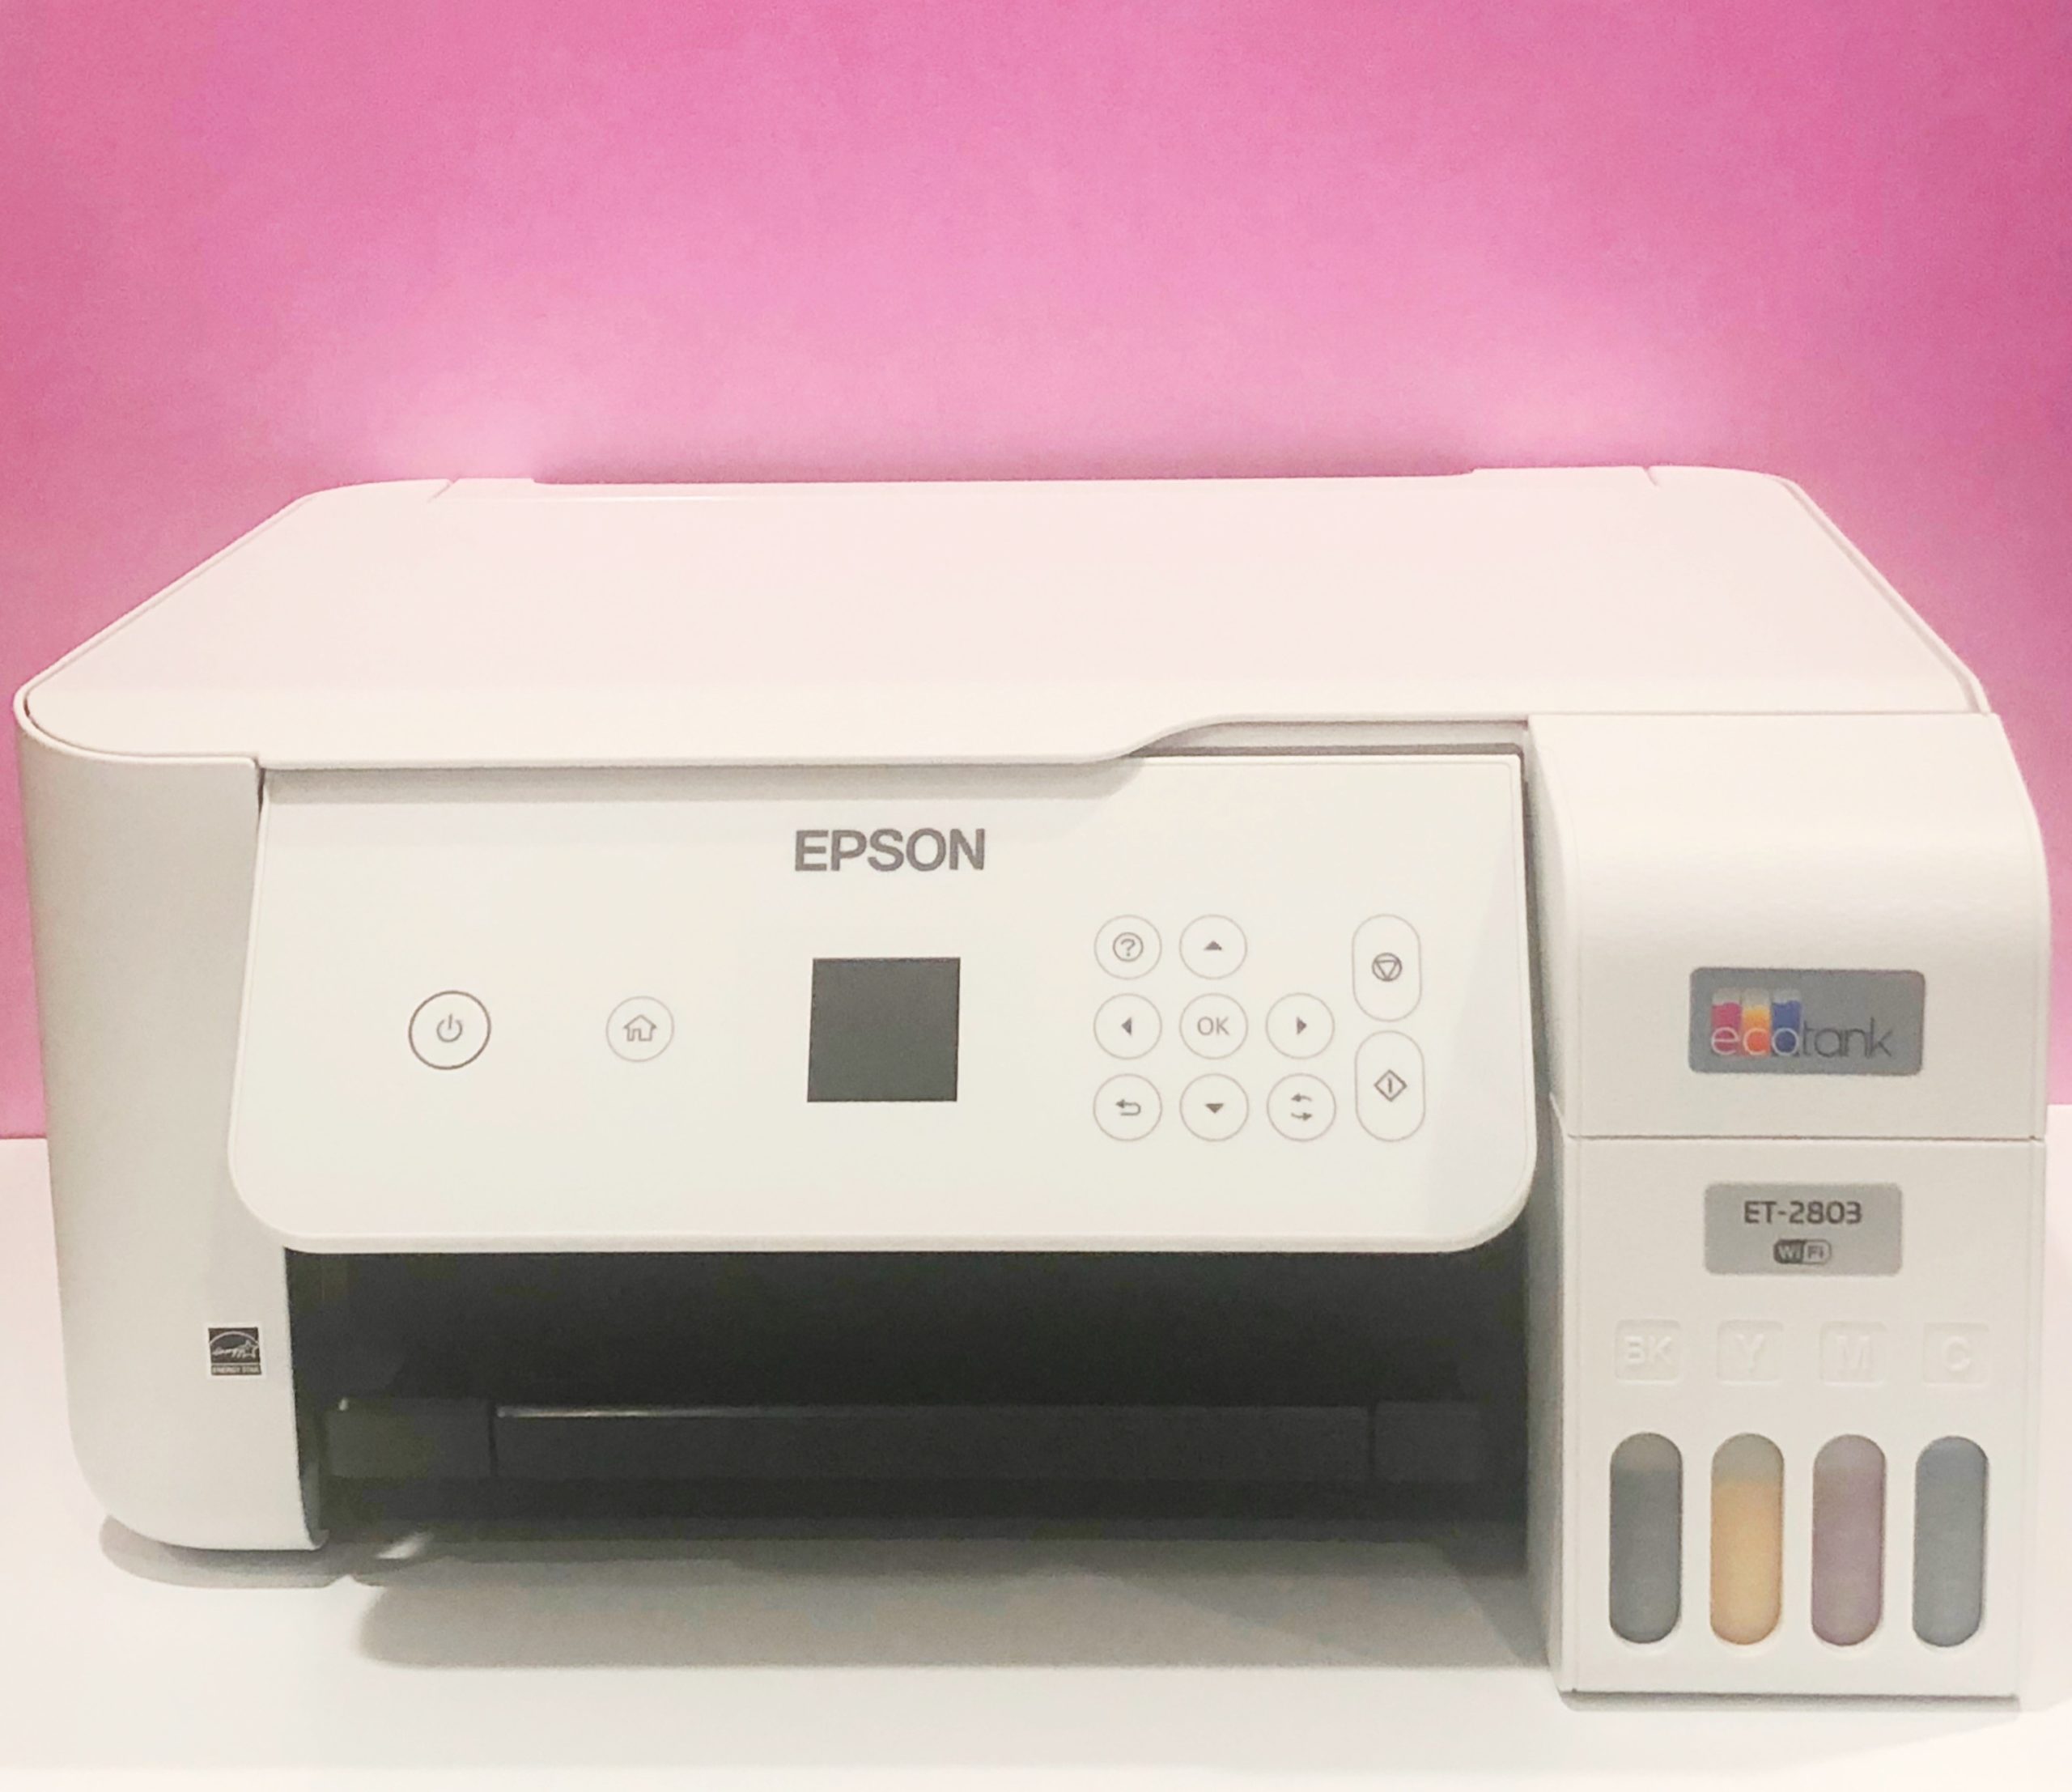
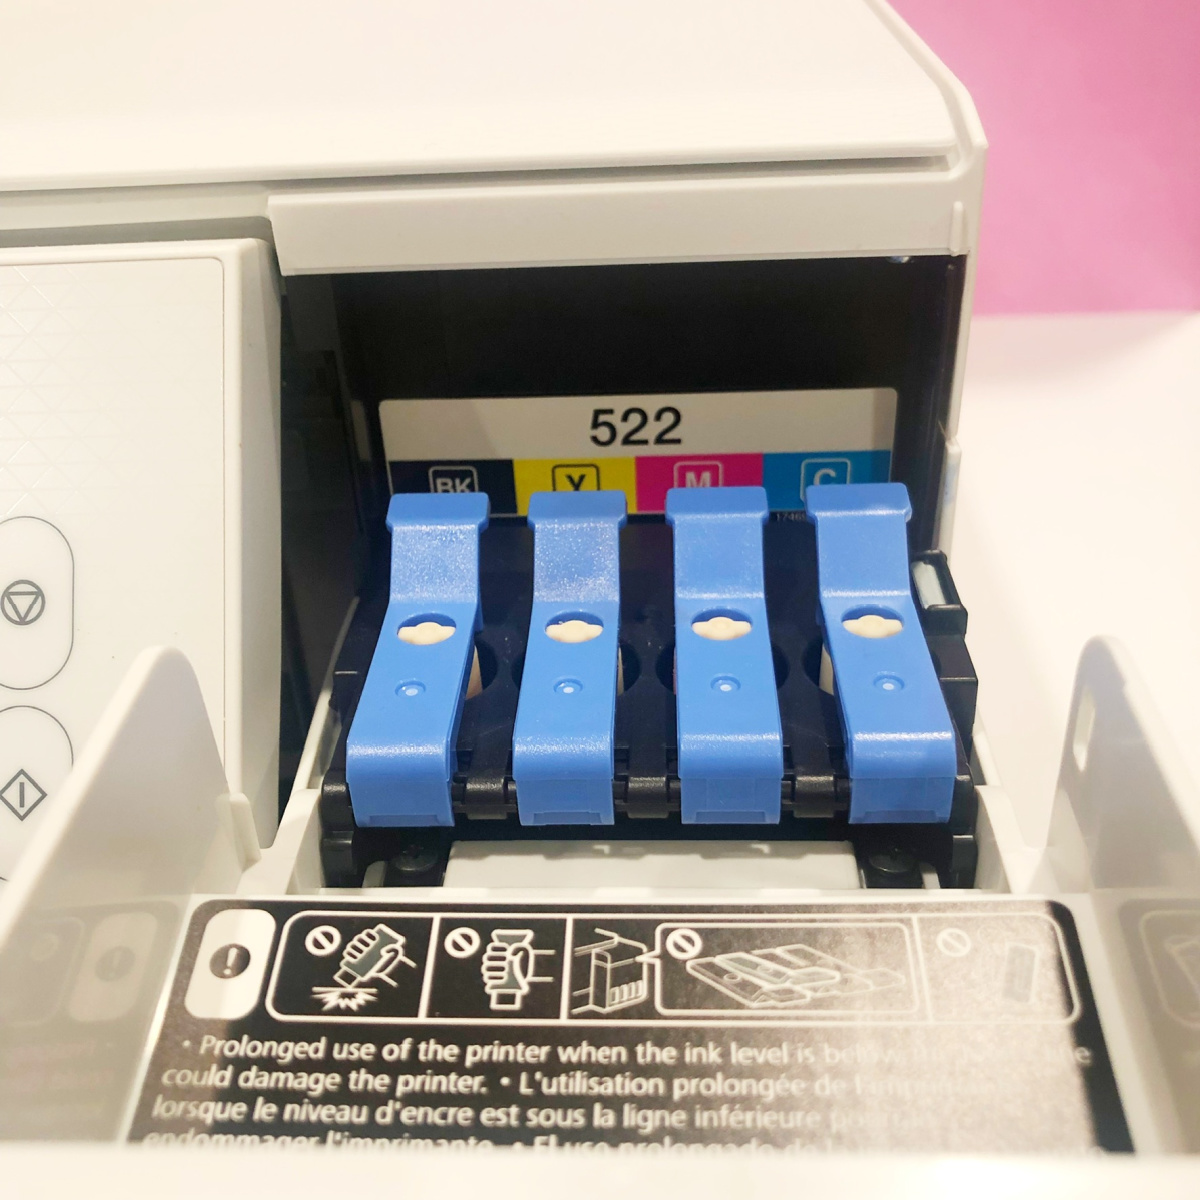
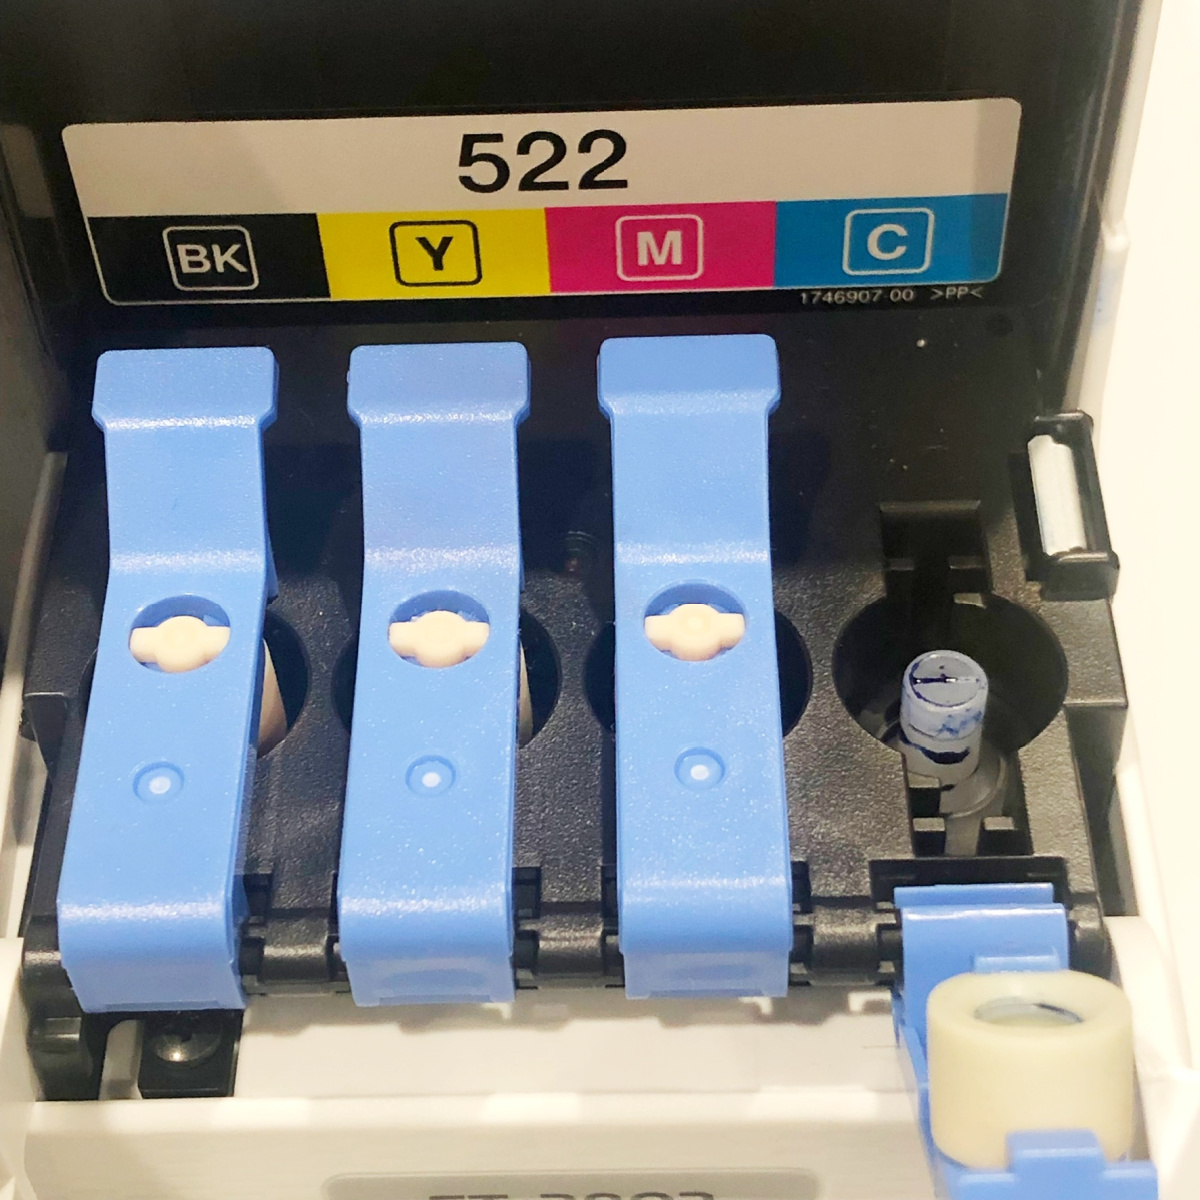
STEP 3: Open the ink compartment door on the front right of the printer. You will see the individual ink tanks now for each color of ink.
STEP 4: Get out the bottles of Hiipoo Sublimation Ink. Unscrew the cap of one bottle.
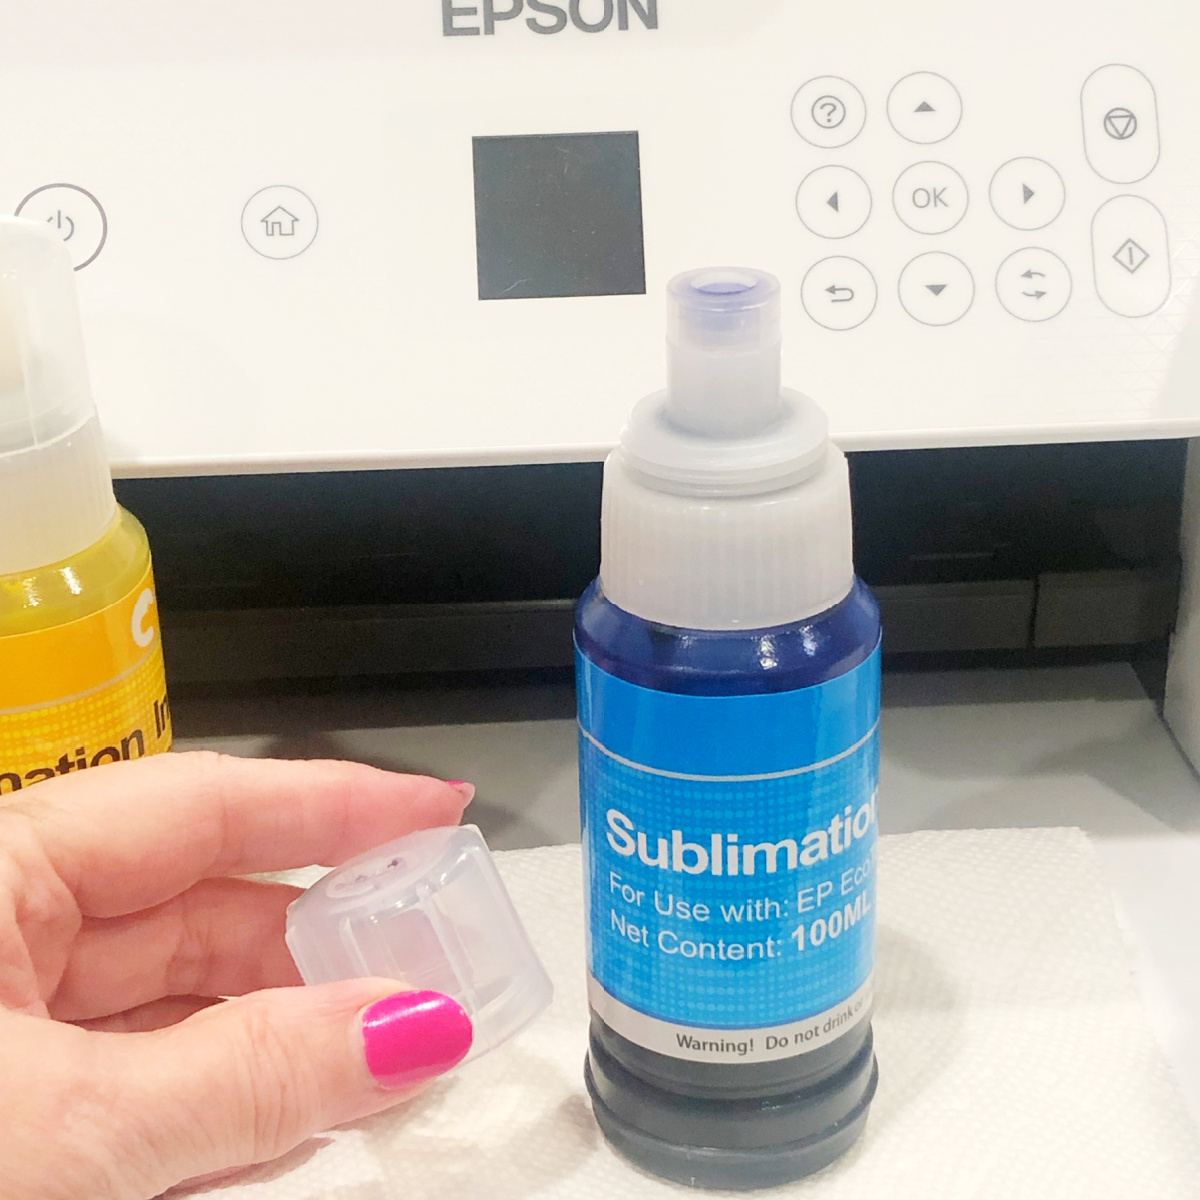
STEP 5: Locate the same individual ink tank color with the same color bottle color ink. Open the blue flap on the ink tank for that individual ink.
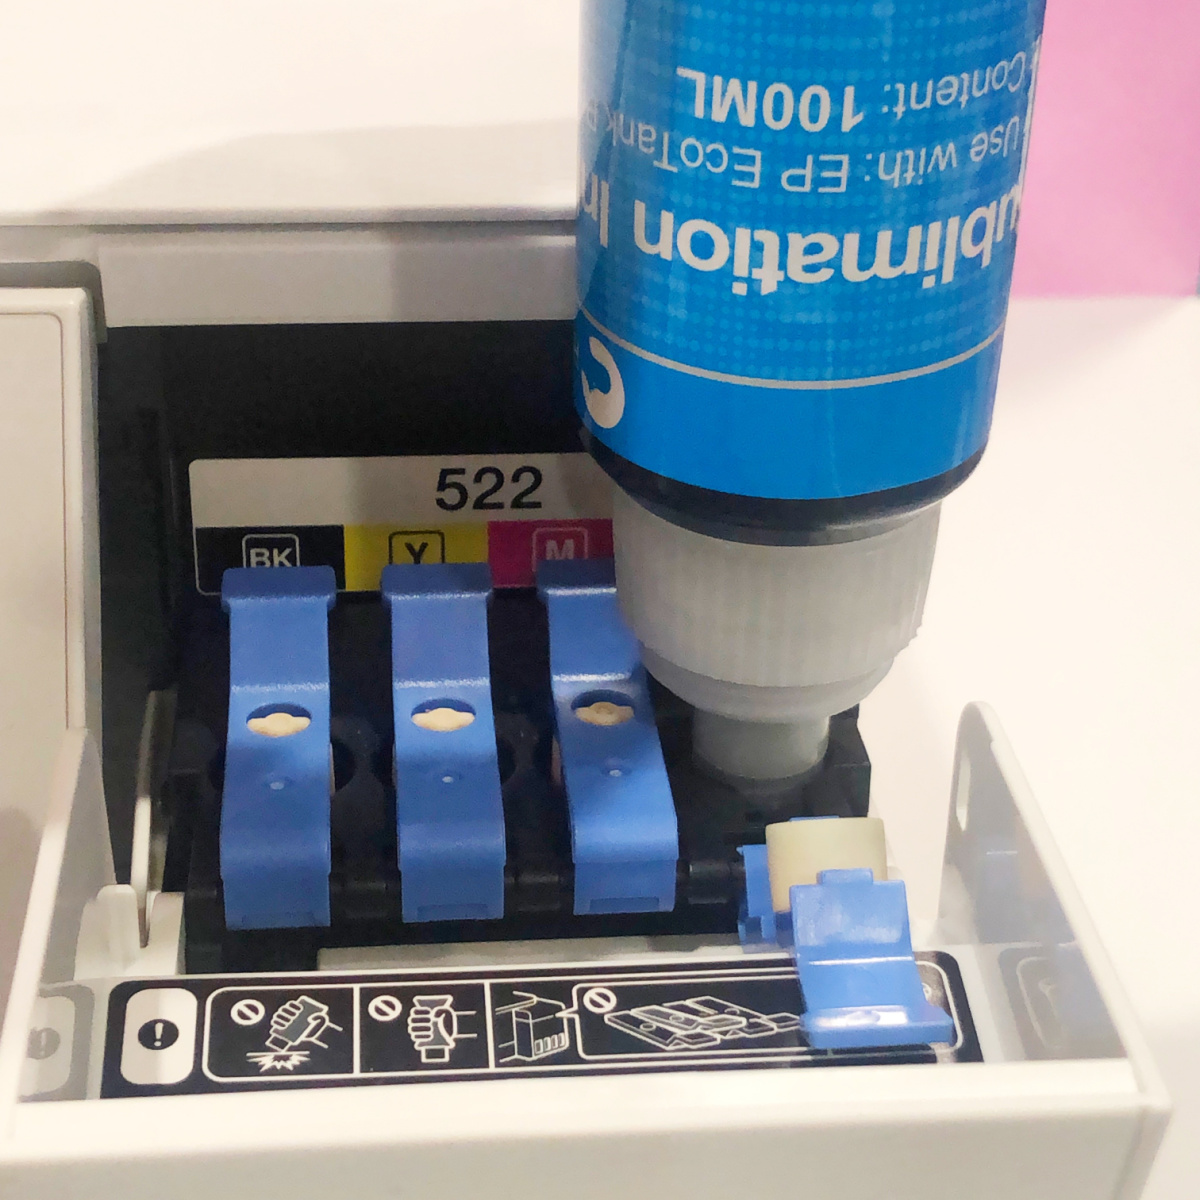
STEP 6: Insert the ink bottle tip into the hole on the ink tank. DO NOT SQUEEZE THE BOTTLE. Gravity will fill the tank up stop when it reaches the fill line. You can always check the Fill level on the front of the printer. Quickly lift the bottle up and turn right side up. Clean up any ink splatter immediately. Replace cap on the ink bottle.
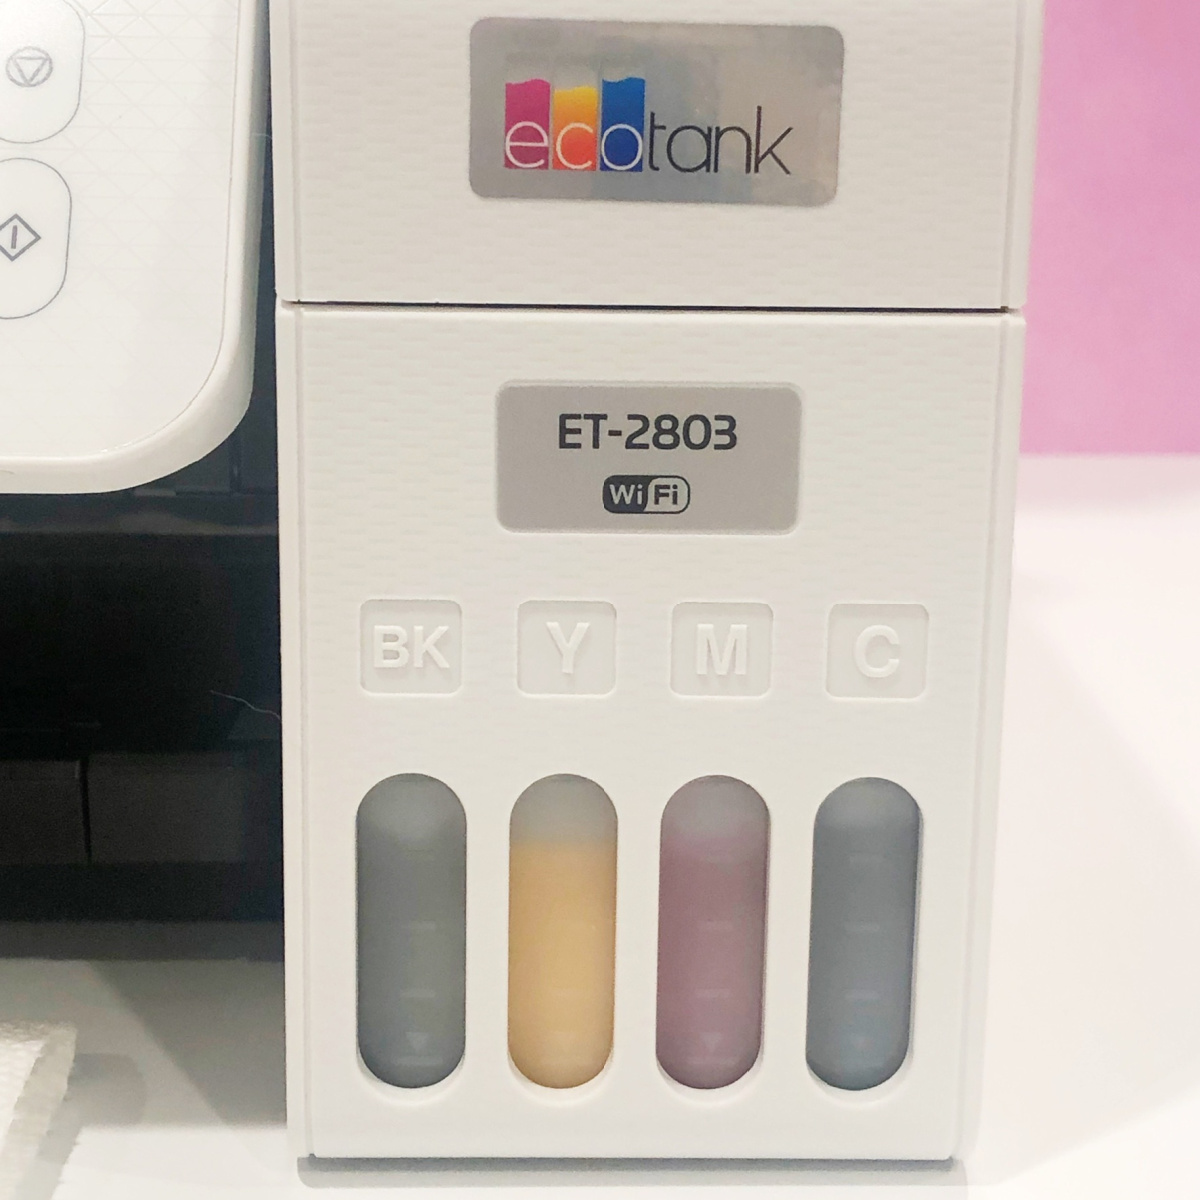
STEP 7: Repeat filling each of the color ink tanks until all colors have been done. Check ink levels for each color on ink gauge located on the front of the printer.
STEP 8: The printer will then prompt you to print out some test pages. Use printer copy paper for these.
Follow the printer directions in order to complete the set up quality and alignment.
Note: It could take a while before the printer ink is settled and the printer prompts you to do the test prints. That’s perfectly normal. Don’t rush the process.
WHAT TO DO BEFORE YOU MAKE YOUR FIRST SUBLIMATION PROJECT
Now that you were able to convert Epson printer, there is one more thing you need to do before you make your first sublimation project. To get the best sublimation ink colors possible on your sublimation project you will need to re-set the color profiles from the original Epson ink default settings. Don’t worry, it’s pretty easy. But you definitely don’t want to skip this step.
What you see on your monitor screen vs what the color looks like printed vs what the color looks like on your final sublimated project can look wildly different. To get the best results you need to find the right sublimation ICC Profile for your printer that’s been made considering the brand of sublimation ink and paper you are using.
What is an ICC profile ?
In simple terms, an ICC Profile is a computer file that makes sure your color is accurate when you print.
First thing to know is that the different models of the Epson EcoTank Printers will possibly need a different ICC profile so you can’t just assume they are all going to be the same. So look for ones that match your same printer model to be sure.
The second thing is the color profiles will also depend upon the Sublimation Ink and Sublimation Paper you use. This makes sense because they may have different manufacturing specs that brand follows.
So once you know your Epson EcoTank Printer model number and the sublimation ink and paper you will use, then you can search for the correct Color Profile.
Creating an ICC Profile requires technical special skills. Its not generally something a general crafter can do on their own because of all the variables involved. So lets leave that up to the experts for now.
Do You Have to Install ICC Profile When Convert Epson Printer ?
No, you don’t have to install one. If you are happy with the colors from the default printer ICC profile already installed on your printer then you can skip this.
But what I found was when I did a few sublimation projects some of my colors didn’t look as good after I applied the heat.
Where to find Sublimation ICC Profile for Your Epson EcoTank Model
The best place to find ones that are accurate would be to go to the Sublimation Ink Brand website. Many of those offer a resource for looking up and downloading the one that best fits your printer and type of Sublimation paper.
Similar model numbers might be close enough to give you accurate color so if you don’t see your exact model try one that is close. Note: Some model numbers are generated for a specific retailer. For example: ET Epson 2803 is the same printer as ET Epson 2800 but it was made for retailer store Target.
Here are some links to help you find them from the three most popular sublimation brands.
Hiipoo Ink: https://www.hiipoo.com/
*In their menu on top there is a link to GET ICC PROFILES which takes you to their Google Drive where you can download various profiles offered. These are specific to Hiipoo Ink and either the Hiipoo Sublimation Paper or ASub Sublimation Paper. They are adding more all the time.
Ink Owl Ink: https://www.inkowl.com/page/icc-profiles-sublimation-epson/
Printers Jack Ink: https://printers-jack.com/collections/sublimation-ink
*In their menu on top there is a REQUEST ICC PROFILE link so they can provide the best one that matches their ink and your printer
How to Install an ICC Profile
Now that you found an ICC Profile to use, you need to download it your computer. The process to install it may be different depending on if you are using a PC or a MAC.
I am the first to admit that I am no expert at this so I am going to refer you to a reliable resource for installing the ICC Profile. Head over to my friend Cori George of Hey Lets Make Stuff and read her excellent detailed blog post Sublimation ICC Profiles and Color Management for Beginners which describes how to install the ICC Profiles on either of those devices.
When I first started doing Sublimation I did a bunch of research on sublimation printing and found that Cori’s instructions were easiest to follow the steps. I always want to be honest and upfront with my readers here and I think it’s best to share the best info with you.
MANUALLY UPLOADING A NEW ICC COLOR PROFILE
If you have the same printer I am using, the Epson Eco Tank 2800 or 2803 and using the Hiipoo Ink and Sublimation Paper Brand, then here is another way for you to manually update the ICC Profile without having to upload the ICC Profile computer file.
EPSON ECO TANK 2800 AND 2803 SUBLIMATION PRINTER SETTINGS:
From the program you are using to print from, Open printer settings or printer preferences and on the MAIN TAB:
- Select your Epson EcoTank Printerfrom the Printer dropdown menu
- Paper size to 5×11and print in Portrait format
- Change Paper type to Premium Presentation Paper Matte
- Change quality of print to HIGH
- Select COLOR printing
Click the MORE TAB and adjust the following:
- Deselect HIGH SPEEDor check HIGH QUALITY (i get both options depending on where I am printing from)
- Check Mirror Image
- Change Color Correction to CUSTOM
- Click on ADVANCED
- Within Color Correction change the following:
- Change color more to Adobe RGB
- Set Gamma to 2.2
- Brightness to 9
- Contrast to 7
- Saturation to 15
- Density to 4
- Click OK
- Save this setting as a preset for future use and name as needed. I named mine SUBLIMATIONMirrored Custom Color.
- Click OK
- Click Print
That’s it! Next time you do sublimation printing from this same device you can select the Preset you made. Easy Peasy ! If you want a pdf of these settings to keep handy, get it HERE.
Troubleshooting Tip: Sometimes even after getting your ICC Profile set up you may run across a sublimation project where the colors still seem a little off.
It can even sometimes be the heat source that you are using.
You can adjust some of these settings one way or the other and do a test to see if that looks better or keep changing the settings until it does look best. I recommend you keep a list of which settings work best for particular sublimation projects.
IMPORTANT TIPS ABOUT USING SUBLIMATION INK
- Do not shake the ink bottles prior to filling the printer ink tanks.
- Do not squeeze the bottle to fill the tank. This may cause leaks and sprays of ink.
- If the tank is not filling, remove the bottle from the tank nozzle and insert again.
- Do not fill a tank if the ink level is over the top line on the window gauge on the front of the printer.
- Allow the ink in the tanks to settle before printing. It could take a few hours before this is done. It’s okay to do the test prints on printer paper.
- To sublimate you need to use Sublimation materials like Hiipoo Sublimation Paper or A Sub Paper and not copy paper.
- It’s important to run a sublimation print every couple of weeks to keep the printer ink flowing. Those prints on sublimation paper can even be saved to be used on a sublimation project another time. Place in a file folder and away from light source to preserve ink quality.
I know at first glance this may seem like a lot to do but I promise it is pretty straight forward and easy to do. If you follow the steps and tips I shared, it should be easy for you to convert Epson Printer to sublimation. Then you can start creating sublimation masterpieces.
In fact, the next thing you can do is check out my post on How to Create A T-Shirt with Sublimation Printing. This step-by-step tutorial will help you make your very own sublimation t-shirt.
I always love to hear from you ! Leave me a comment if set up your printer for sublimation and which printer you used. And if you if moved forward and made a sublimation project, I would love to see it so come post in our Facebook Group.
If you have questions about sublimation please let me know so I can include in future post.
PIN THIS TO FAVORITE PINTEREST BOARD

If you make a project, I’d love to see it! Please share in our Facebook Group Community where you will find others sharing their projects, tips and inspiration.