The Post and Photos within may contain Amazon or other affiliate links. If you purchase using links in this post I do earn a small commission but without additional charge to you. Thank you for your support!
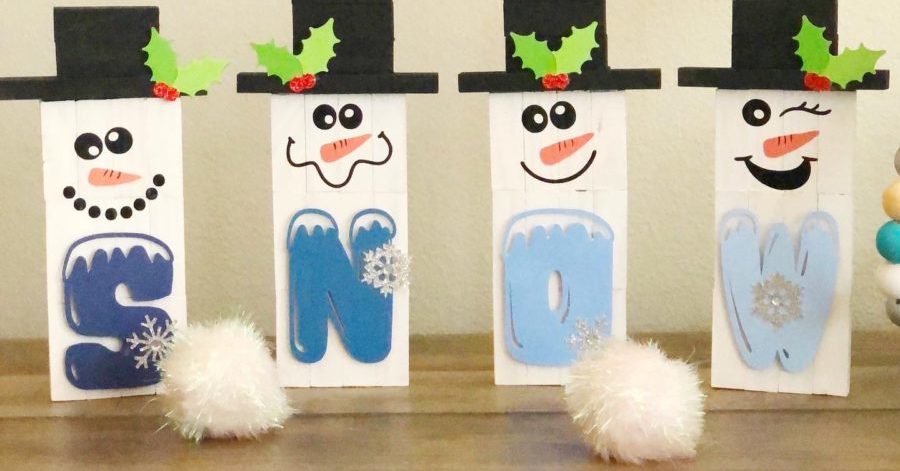
Who wants to make some fun winter snowmen out of tumbling blocks and decorate with your Cricut ? Today’s tutorial is going to walk you through a trendy tumbling block project. Inexpensive to make but so adorable, its sure to brighten your home this winter.

Adorable Snowmen always remind me of winter. And what better way to add a little wintery decor to your home than to create your own to display.
Today’s tutorial is going to show you how to turn ordinary wood tumbling blocks into something extraordinary ! The tutorial is a quick video to watch. The supply list for this project is listed below the video so scroll down to see it.
Be sure and subscribe to my You Tube Channel so you don’t miss future crafty tutorials.
SNOWMEN TUMBLING BLOCKS SUPPLY LIST
The supply list does have affiliate links to help you source the supplies. If you make a purchase using the links I do receive a small compensation but at no additional charge to you.
Tumbling Blocks 72 ct (70 total used to make 4 snowmen) Dollar Tree OR Amazon
Permanent Adhesive Vinyl – Black
Cardstock – Blue (letters), Orange (nose), Green (holly), Red (holly berries)
Glitter Cardstock – Silver for snowflakes
Acrylic Paint – White and Black
2 Foam Paint Brushes – 1″
Paper Plate (use a paint pallet)
CUT SIZES WITH CRICUT FOR MATERIALS
TIPS FOR ASSEMBLY
- Follow the video tutorial above for sorting and gluing the blocks into needed shapes
- Paint all the blocks after they have been glued, set aside to dry
- Add the vinyl and cardstock decorations to the front of the body and hat
- Do NOT add the stands to the back of the snowman body until after you decorate the front
SUGGESTIONS FOR DISPLAYING YOUR SNOWMEN
Your snowmen will look great just about anywhere you choose to display them:
- on entry hall table
- on a book shelf
- on the bathroom counter
- on your nightstand or dresser
- as a centerpiece on dining or kitchen table
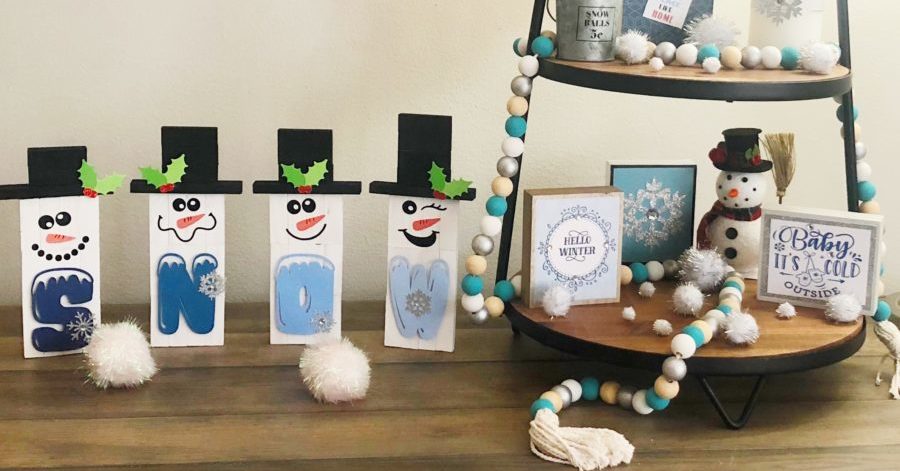
Or display them like I did next to a wintery themed tiered tray on the side board in our dining area ! Every time I walk by them I smile.


If you make a project, I’d love to see it! Please share in our Facebook Group Community where you will find others sharing their projects, tips and inspiration.