The Post and Photos within may contain Amazon or other affiliate links. If you purchase using links in this post I do earn a small commission but without additional charge to you. Thank you for your support!
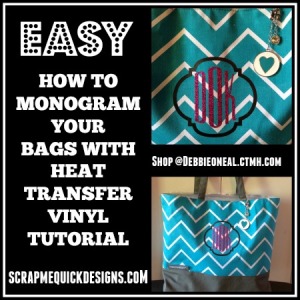
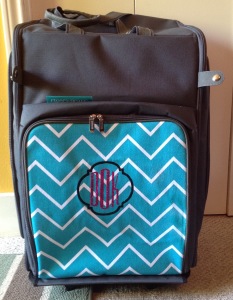
Hi everyone ! Hope you are having a fabulous day. I wanted to share a project with you that I did recently. I have been wanting to add my monogram to the front of my new Close to My Heart Shoulder Tote and matching Rolling Bag.
These bags are super adorable with that Chevron Stripe in Teal and White color scheme but needed to make mine easily identifiable since many have purchased these great bags and love them as much as me !
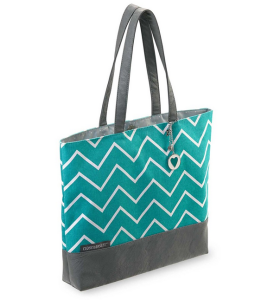
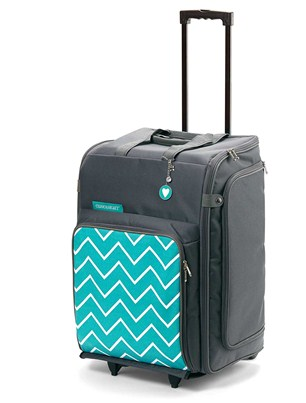
Note: You can purchase either of these great bags and the organizers that fit inside in my CTMH SHOP @ Debbieoneal.ctmh.com You can see these bags in more detail in this video HERE.
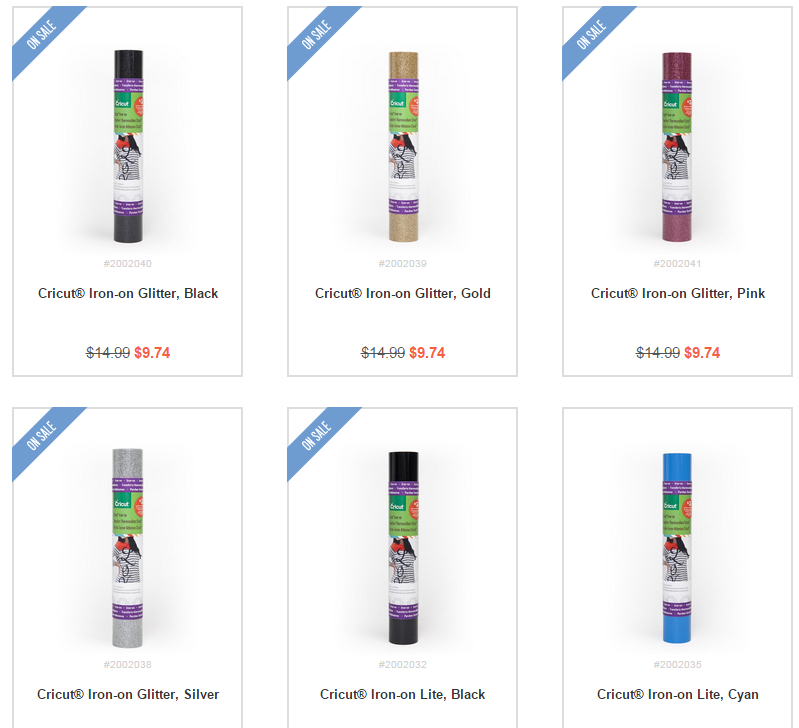
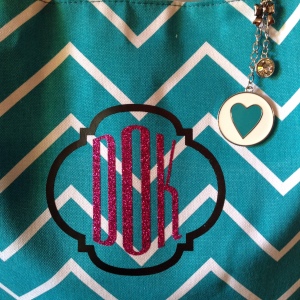
Now to add the Monogram to the front of the bags I decided to use HTV – which is Heat Transfer Vinyl or what they call Iron On Vinyl. I have purchased HTV at a variety of places but I used the Cricut Iron On Brand for this project. In fact, its on sale right now at Cricut.com. Heat Transfer Vinyl/Iron On Vinyl cuts great in your die cut machines and particularly in the Cricut Explore because of the precision cutting it does. I used the Black flat (Cricut Lite) for the outline shape and the Pink Glitter Vinyl for the initials to complete my monogram.
If you have not used Heat Transfer/Iron On Vinyl before, there are a few tips you need to know about.
1) You have to Mirror your image when you cut it out so that when you iron it on, it is the right side up
2) Make sure you have a semi-hard surface to iron your vinyl on to project. I use a few sheets of chipboard taped together or a piece of smooth board to make a surface I can insert inside the item before I apply it to my project.
3) You will need a heat source to iron on the vinyl. You can use your household iron (which I use) or a Heat Press Machine. (more on Heat Press machines in a future post).
4) Follow the directions for the type of Heat Transfer Vinyl you purchase. Some of the you peel off the lining after you iron while it is still hot…others you have to wait until it is cooled down before removing.
5) Do not slide your household iron around while you are ironing it on…lift it up and off over the entire image to avoid messy vinyl application.
Next I needed to select a way to cut out the monogram I envisioned for my bag. I decided to use the new Anna’s Decorative Monograms by Anna Griffin. (This will be available for purchase in May.) This cartridge has multiple monogram outline shapes and two different monogram styles.
I created a video to show you how to use Anna’s Decorative Monograms to create your monogram in Cricut Design Space.
So now that I have selected my HTV (Black and Pink Glitter), cut it out mirrored and ironed it on to the both my CTMH Bags, here are the results up close. I added the Black HTV outline shape first, and let that cool first. Then I ironed on the Pink Glitter HTV. I used a 12X12 smooth board my hubby cut for me out of MDF board to place inside the tote bag and under the panel of the rolling tote before I used my household iron to heat set it. Worked perfectly.
I got so many compliments on them at a recent event went to this past weekend.
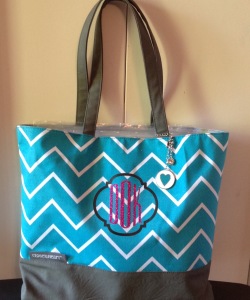
Let me know if you have any questions in the comments section. And as usual, I appreciate your shopping for CTMH products with me @ Debbieoneal.ctmh.com and using my Cricut Affiliate links to make purchases inspired by my post. The link for the Cricut Iron On Vinyl that is on sale now is HERE.

I wasted so much pink glitter vinyl trying to get it to cut on my Cricut Explore. What setting do you use for this thick glitter vinyl? Thank you!
I used the glitter vinyl setting under custom settings Kathleen. Did you look there for it ?
Lovely totes Debbie and the monograms look awesome. Will be interested to see this image set when it’s released.
it really love it Francine. Thanks for the compliment.
Great idea, Debbie! Thanks for the hints for working with the HTV!